
This post contains affiliate links. This means if you make a purchase through one of these links, I may receive a small commission, at no extra cost to you. All opinions are my own. Read my full disclosure here
We were looking for a new decor item for the back of our door in the house. I’ve seen a lot of cute ones that say “hello” or say something specific that might not allow it to be usable all year round. I wanted something similar, but a little different.
I had seen interchangeable signs that can be switched for the season or holiday and I really like that idea because then you always have a sign for the right time of year and you don’t have to go through the extra steps of storing and finding whenever you want to switch the decor.
So I came up with my own plan!
I was going to make a cute rounded wooden sign, but make it interchangeable. To make it interchangeable, I decided to start with the different seasons, but the ideas are limitless.
How was I going to make the interchangeable part? Well the Circuit Maker of course! I love using all our different fun tools to make different projects, and when working with wood Lucas and I usually make it together.
At the start of this project, we used the router to cut out a circle of wood.
Creating a Wood Circle
Lucas and I used the router to cut through the plywood and Lucas made a template using a thin piece of wood and a screw in the middle of the board to create a circle. This wouldn’t have been my first preference because I didn’t want a hole in the middle of the circle, but we didn’t have a proper tool to connect the router to the wood. This method worked really well and allowed for a beautiful wooden circle.

Once the circle was complete, I used some sandpaper to clean up the edges a bit. Then we used a belt sander to smooth the edges further. Then following the sanding, I used the tack cloth to remove the excess saw dust.
Time for the Staining!
So I saw this tip while researching for how to complete this project, because I wasn’t sure how staining and painting the same board would work. Stain usually bleeds through and follows the wood grain, so I wasn’t sure if I’d be able to get a straight line.
I was able to get a straight line though!
To do this, we used a utility knife and a straight edge to cut into the surface of the wood. This assisted in preventing the stain from bleeding into painted area. In addition to this, I used blue painters tape to also create the clean line. I then applied the wood stain. For this project, I used a medium brown stain.
Once the stain was dry, which took a day or two, I put painter’s tape on the stained area to create a straight line for painting.
I used white acrylic paint for the painted section to put the wooden signs on top of so any color I used for the interchangeable part wouldn’t clash.

Making the Signs
As the circle was drying, I spent some time on the Cricut Maker creating the interchangeable signs that will be hung on the circle.
I used Cricut Design Space to create the signs, and I purchased Cricut brand Basswood to cut them.
After searching through all my cursive fonts, specifically looking for loops that wouldn’t be too thin and will keep the words completely connected, I found one that was almost perfect. I ended up using a font that I had downloaded from another site. In order to make it even more accurate so that the letters were all connected, I ungrouped the letters and moved them closer together where needed.

The sign needed to be completely connected because I planned on hanging it on a single nail on the wooden circle. In order to do this, I did have to omit the dot on the top of the “i” and I added a hole in the middle of the word so that it could be hung.
To put a hole in the sign, I used the circle shape and unlocked it so it could be more of an oval shape to fit into shape of the I. Then I used the slice feature to cut that shape out of the word.
Once this was all set, I used my Cricut Maker to cut the signs out of the basswood by using the knife blade.
This took a lot longer than I expected and a little bit of trial and error for how long the knife blade should cut for. There are also some tips on making cutting basswood successful. I recommend using a strong grip mat, putting some extra tape on the edges of the board, and moving the rollers all the way to the right.
For some of the signs, I had to use an exacto knife to finish some of the cutting because I stopped the Cricut too soon for fear that it was cutting too deep.. trial and error haha!
Time to pick a paint color for each sign, paint the signs, and then decorate the wooden circle!
I purchased these peony flowers and this buffalo plaid wire ribbon. Then I used a hot glue gun to attach the elements to the wooden circle to finish the look before adding the vinyl “hello”, which was also created with the Cricut Maker.
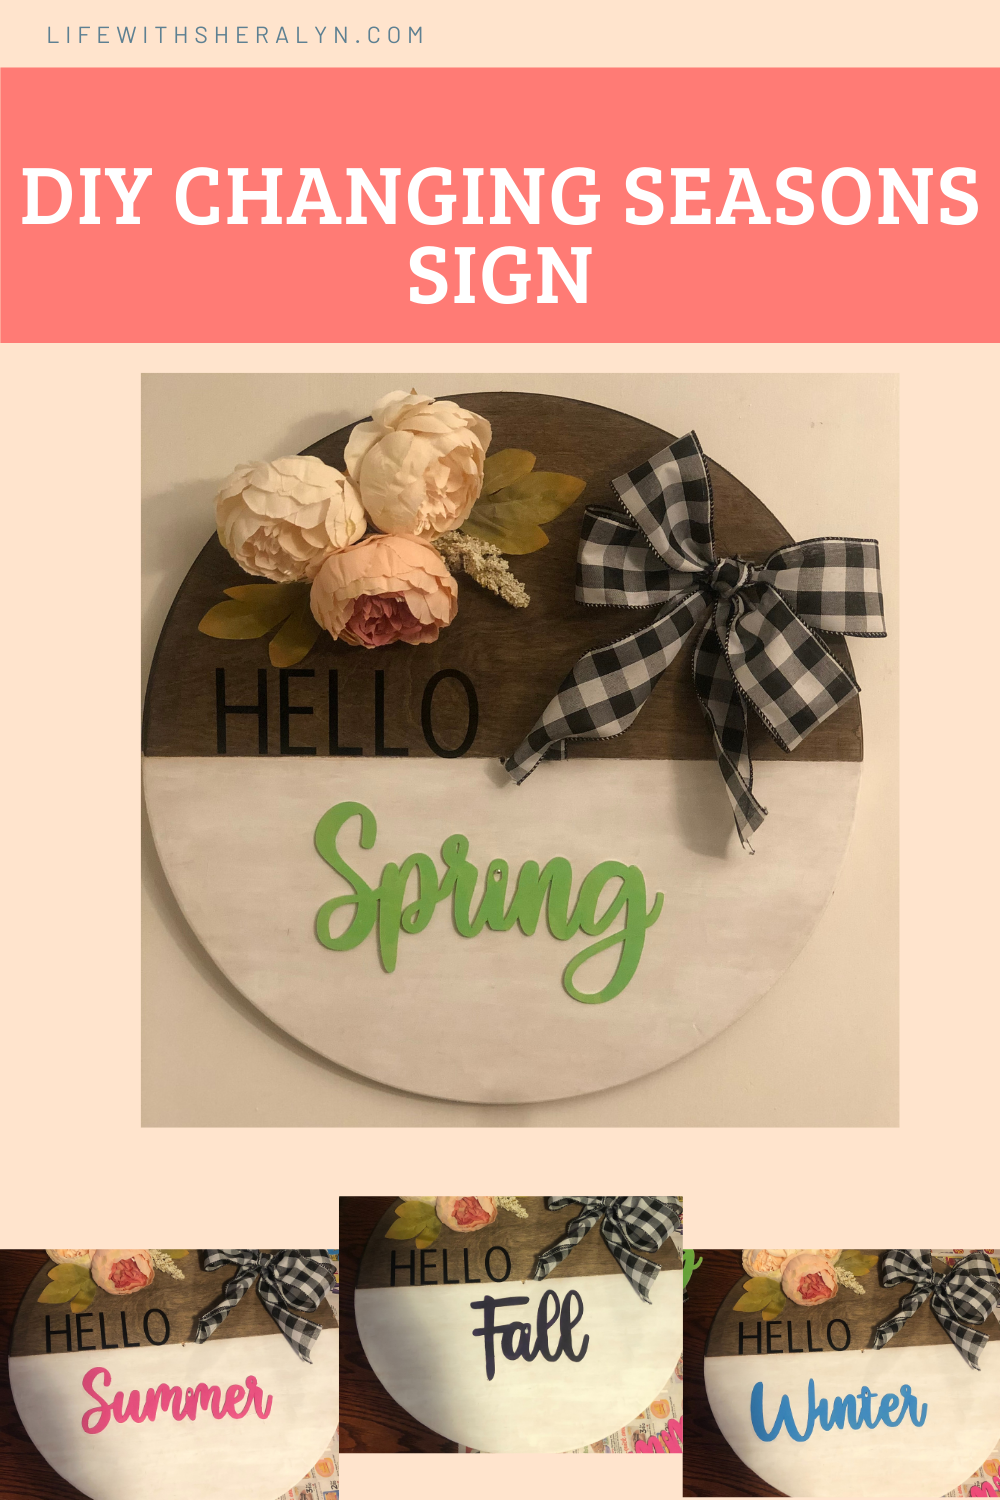
Here’s the Finished Look!

I painted the sign for summer pink, for fall deep purple, and for winter light blue. It is super easy to switch the signs because they just hang on the nail, which is barely noticeable.

And here it is on the back of the door! Love it!

In retrospect, I sort of wish I didn’t pick white on the wooden circle because the door is white, but it’s okay! It just makes the color of the sign pop more.
I hope you enjoyed this project! it was fun making it and I can’t wait to see what signs I come up with next. Wishing you well, always and forever.
No responses yet